
 |
| Elements of the COPASI User Interface. |
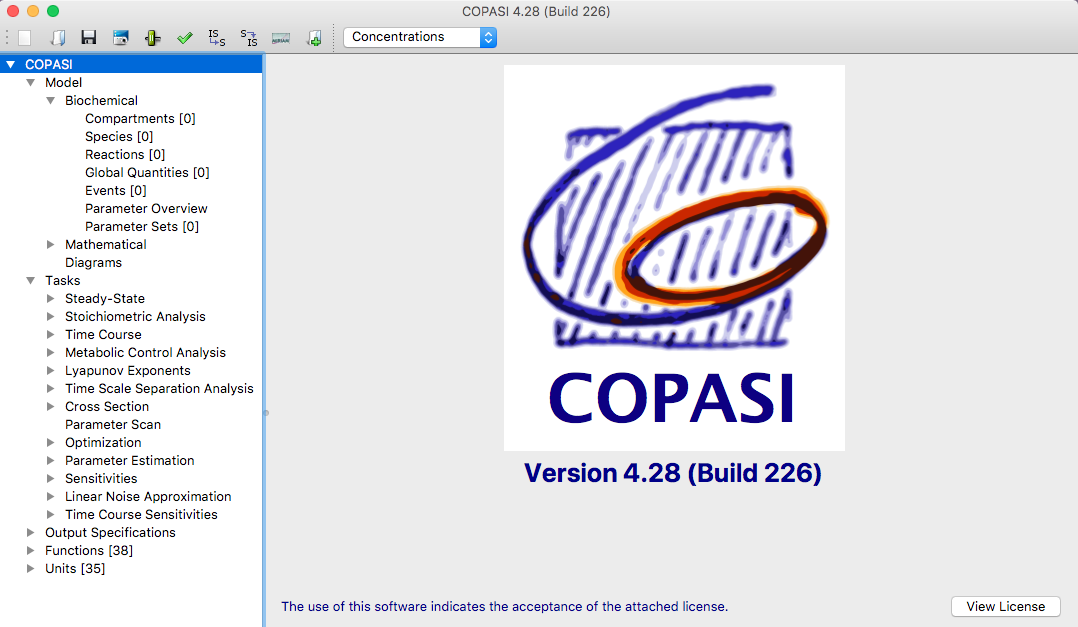
The COPASI graphical user interface is organized into four main elements.
At the top of the main window is the menu bar (on macOS, it appears at the very top of the screen). Just below is a toolbar, which provides quick access to common actions, such as opening or saving files. The remainder of the window is vertically split into two sections by a movable divider. You can adjust the size of these sections by dragging the divider.
On the left side is the object tree. This panel displays the current model as well as the tasks you can perform. Selecting an item in the object tree changes the view in the right section, allowing you to edit model components or modify and run specific tasks.
When you start COPASI without any command-line arguments, it opens with a new model. The root element of the object tree is selected by default, and the right side of the window displays the COPASI logo.
The object tree has five primary branches under its root:
If you click on the Model branch in the object tree, the right panel updates to let you change model settings. In the next sections, we’ll describe each dialog available via the object tree. You’ll also learn how to create models and run tasks in COPASI, such as calculating a trajectory.