
The “Merge Added Model” tool in COPASI enables users to merge different submodels within a project. To demonstrate the core functionalities, consider the following example.
First, create a simple decay model in COPASI by adding the reaction
A + E -> AE within the Reactions section (Model -> Biochemical ->
Reactions), using the default settings. Next, add another model by
selecting the “Add to model” tool, either from the GUI elements or via
File -> Add to model. In this example, load the sample .cps file
“MAPK-HF96-layout” (File -> Examples -> Copasi Files). You’ll observe
that the reaction A + E -> AE is independent of the reactions present in
the example file, which are located in different compartments.
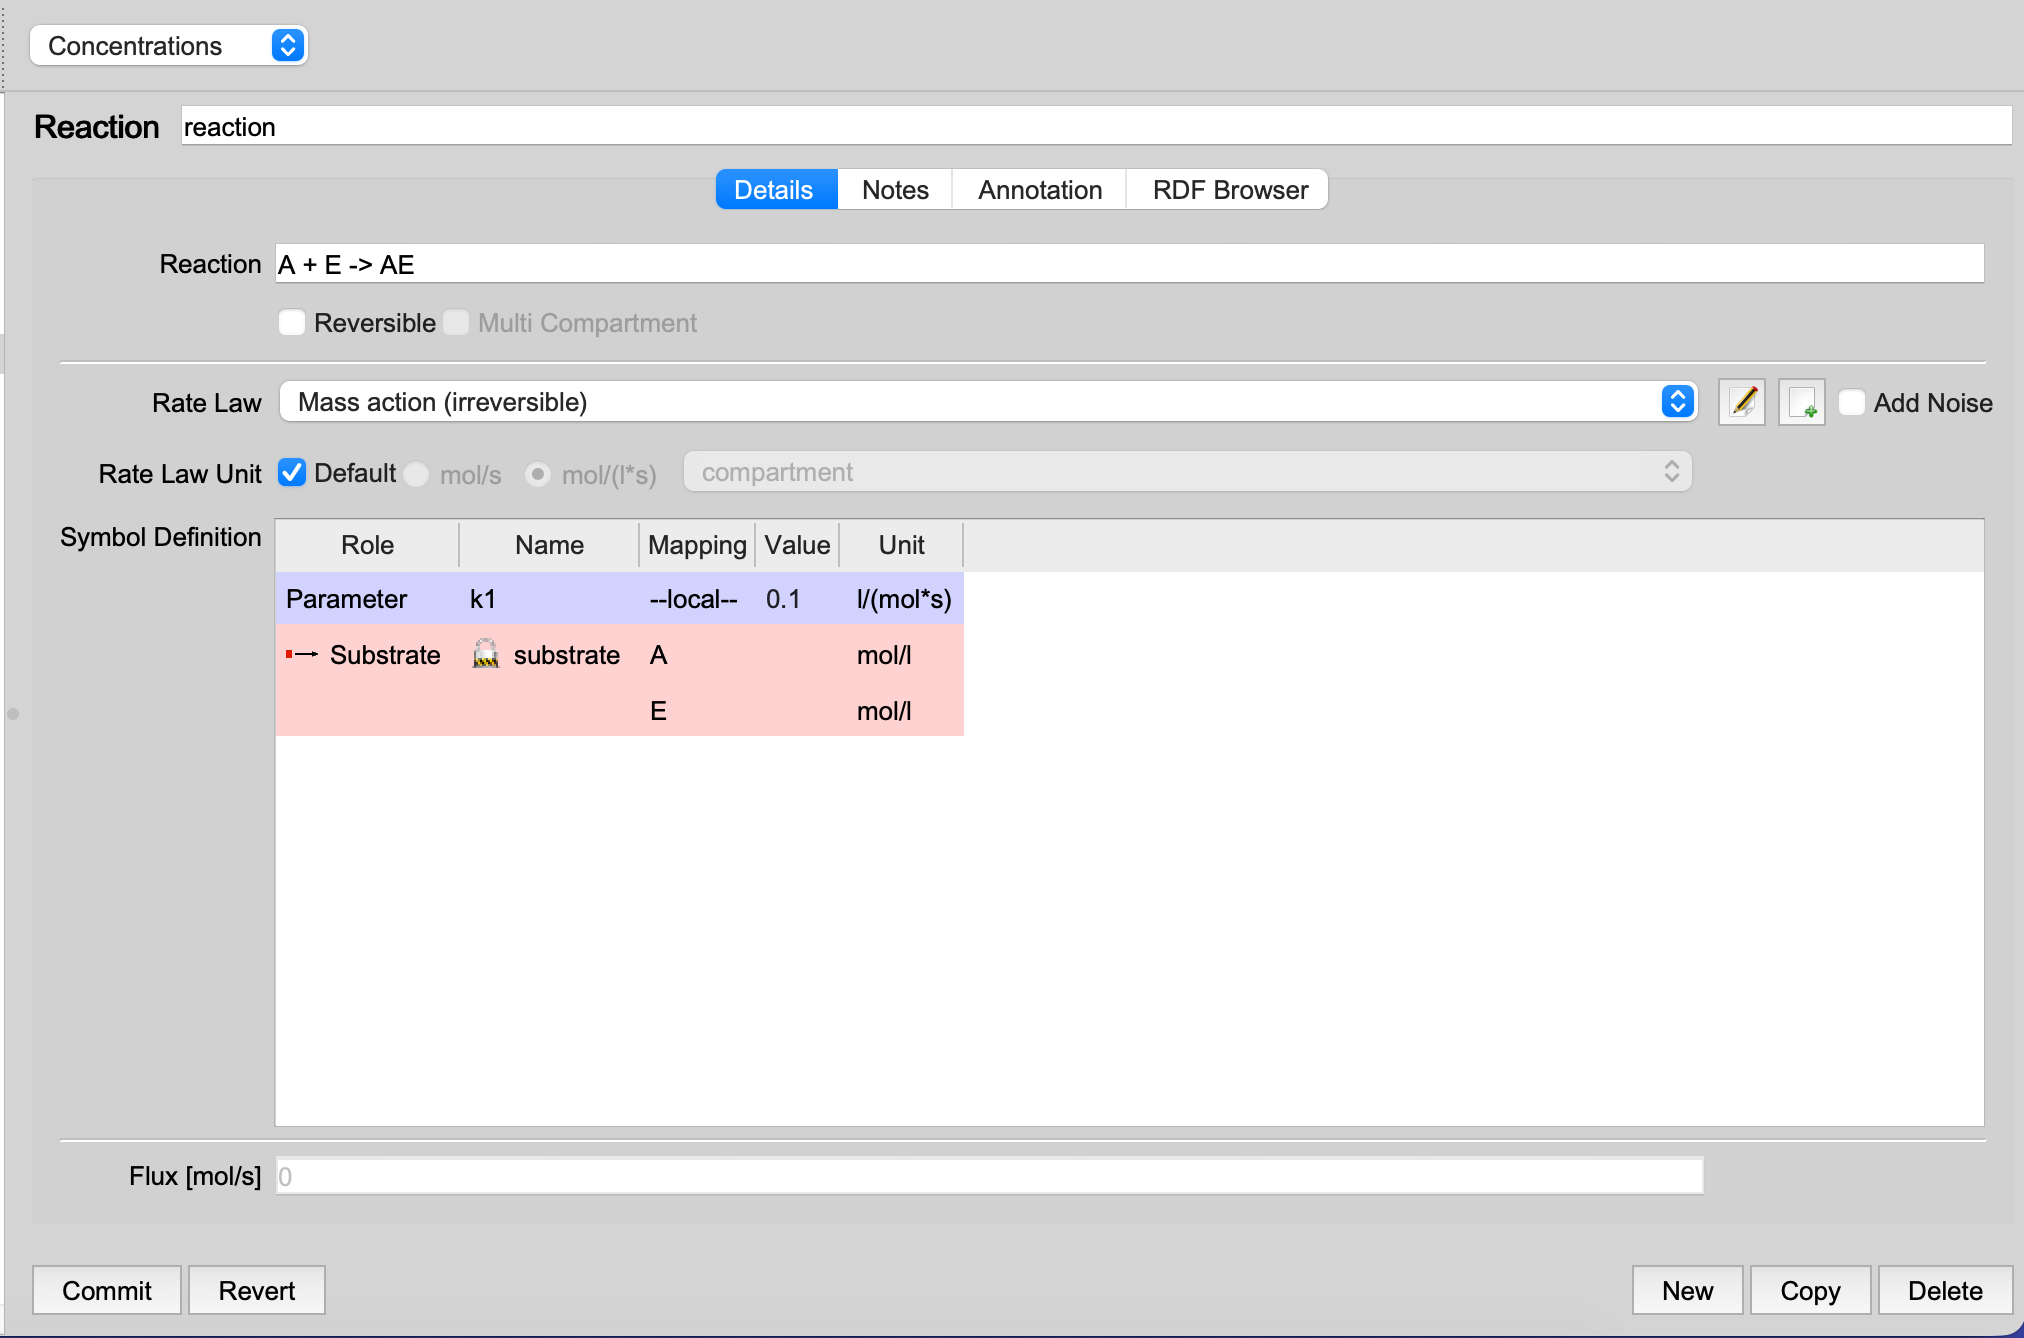 |
| Reaction before merging |
Suppose we want to merge our simple model with the “DimericMWC-stiff” model,
replacing species A with MAPKK. To do this, click on “Merge Added Model”
(Tools -> Merge added model). A new window will open for model merging.
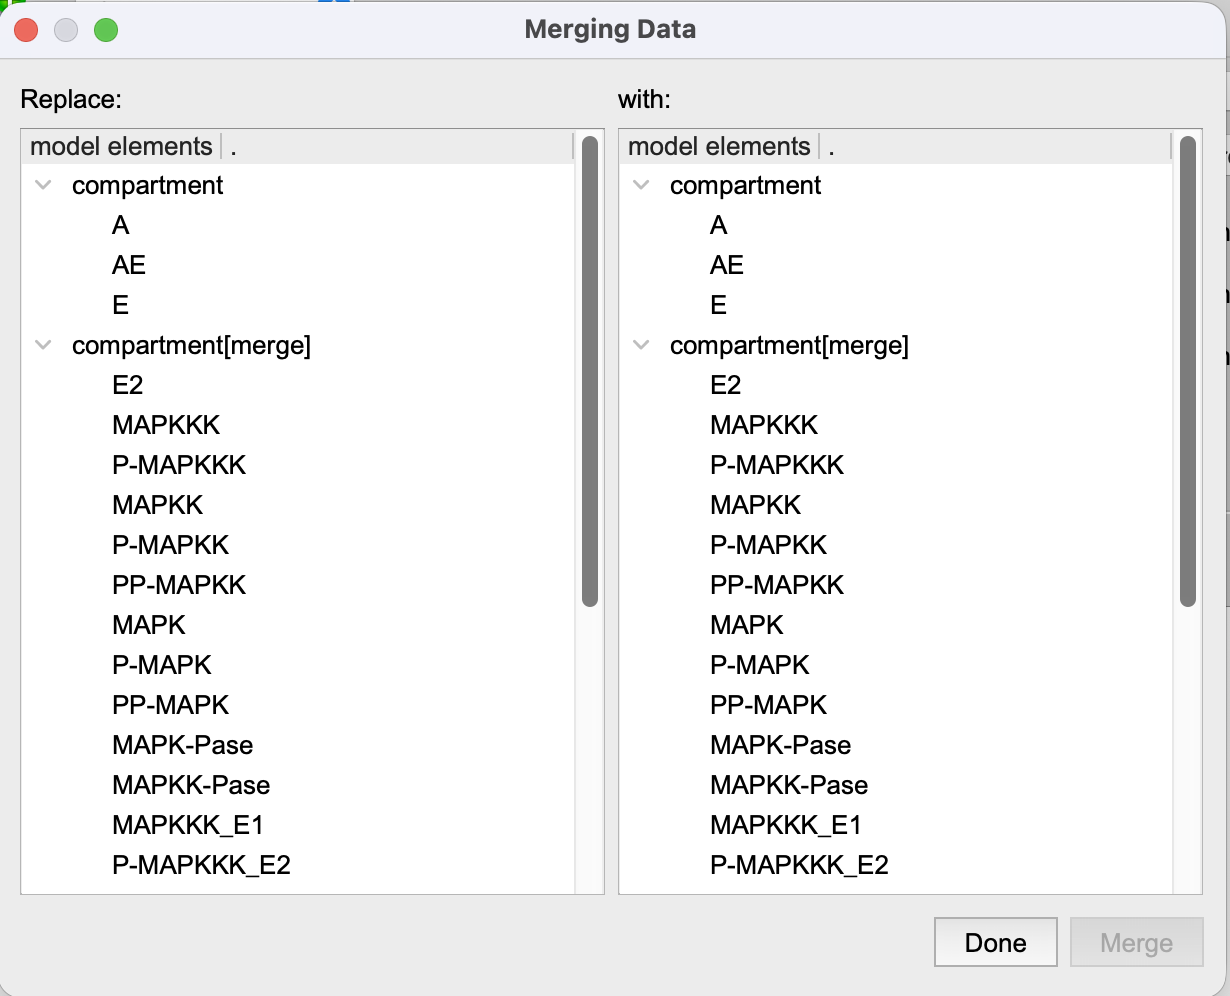 |
| Merging added elements, by identifying what is the same in both models. |
By default, COPASI uses various fonts for clarity: the most recently added model appears in italics, and entities that are completely independent (typically assignments) are displayed in grey since their merging will have minimal impact.
To merge species, select A in the left column and MAPKK in the right
column. After this selection, if you review the reactions, you will notice
that COPASI has replaced all occurrences of A with MAPKK. Consequently,
the reaction now reads MAPKK + E -> AE.
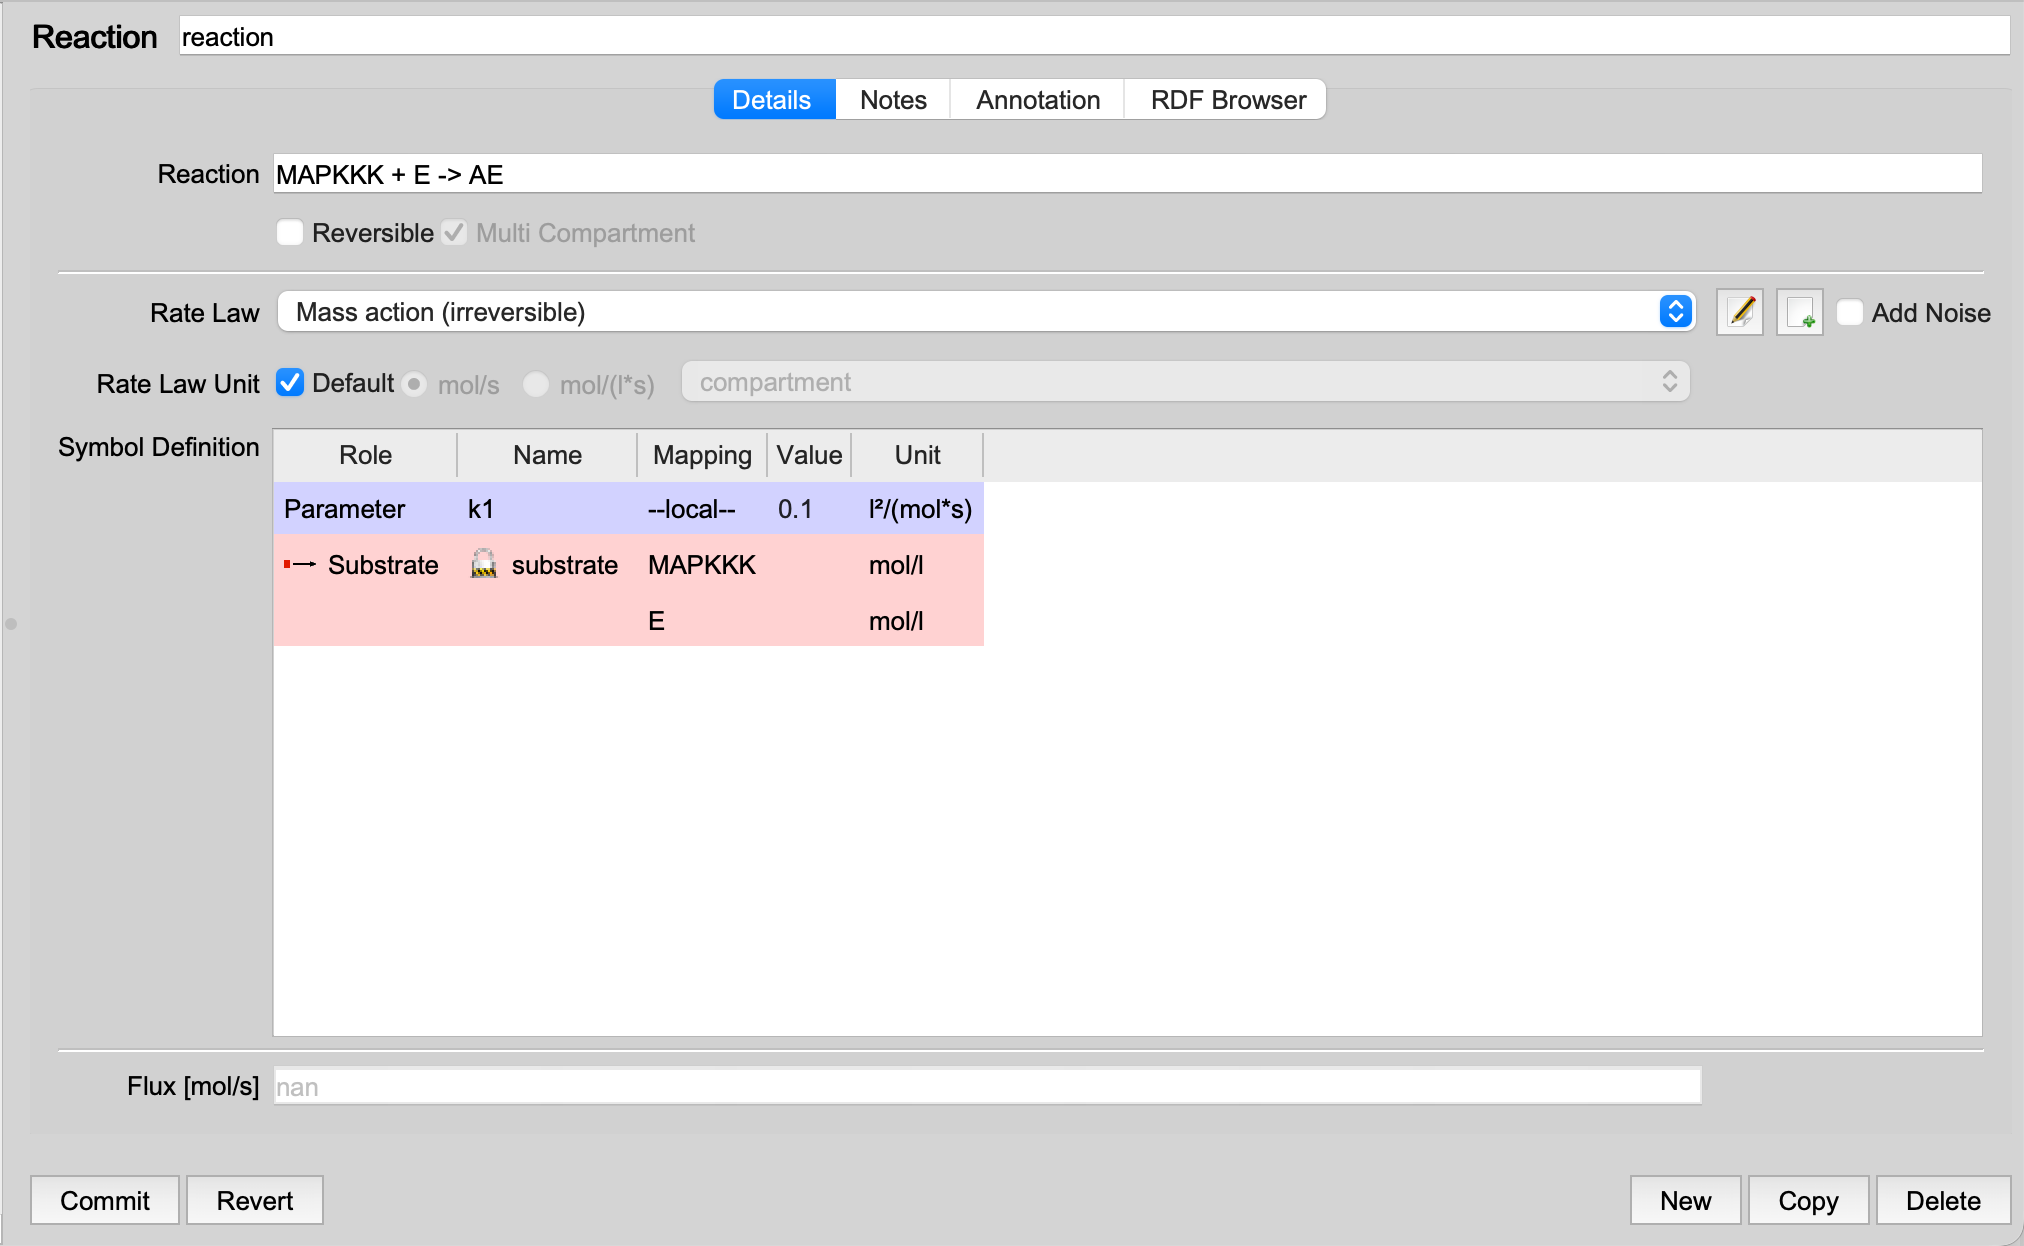 |
| Reaction after merging |
It is important to note, however, that replacing A with MAPKK not
only renames the species but may also result in the reaction spanning
multiple compartments, based on the original compartment locations. In
such cases, you may wish to merge the involved compartments as well to
ensure the reaction occurs within a single compartment.
| Example files: before | after |