Sliders are user interface elements that let the user change model values without having to go to the corresponding
dialog first. This way the user can change certain model values and immediately see the result this has on e.g. a
time course simulation. The use of sliders is not limited to the Time Course task, but they can also be used for the
Steady-State task and the Metabolic Control Analysis.
Per default the slider dialog is hidden, if you want it to be displayed, you have to activate it by toggling the
corresponding menu entry in the Tools menu or through the slider button in the tool-bar. Depending on what element
is selected in the object tree, the dialog will be disabled and a text will be displayed within the dialog that
tells you so. If you select a task (or an element below the task) that supports sliders, the sliders dialog will be
enabled.
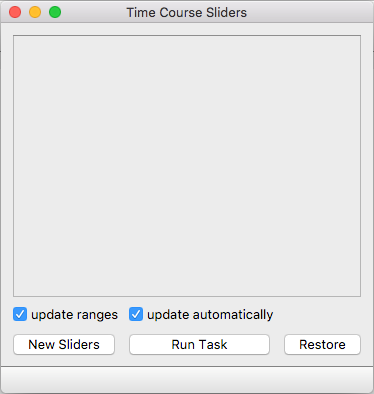 |
| Empty Slider Dialog |
Once the slider dialog has been activated, you can add new sliders with the new slider button at the top of the
slider dialog. To edit the parameters of an already defined slider, just click on the edit button, which is located
on the right side of the slider towards the bottom. If you no longer need a slider you have defined, you can close
it by clicking on the remove button which is the top button on the right side of the slider. Alternatively you can
add or modify the existing sliders via a context menu. The context menu can be activated with the right mouse button
(CTRL + Mouse button for single button mice on Macs!). If you right click on an existing slider, the menu will offer
the possibilities to remove this slider or to edit it. If you right click into the dialog window where there is no
slider, you will be offered the possibility to define a new slider.
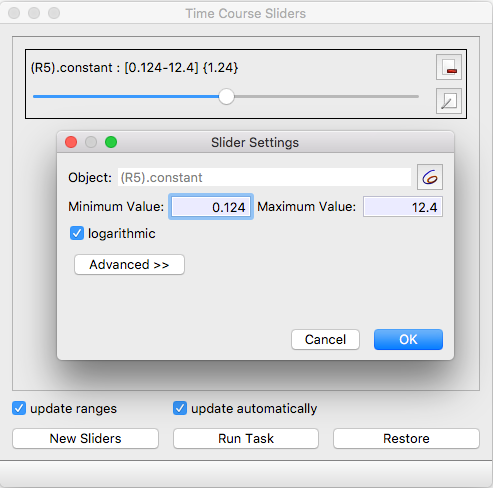 |
| Basic Slider Definition Dialog |
Once you are in the dialog for the definition of a new slider (see above), you have to choose an object to
manipulate via the slider. This object can be selected from the selection dialog that pops up when you click on the
choose object button. The selection tree is the same as the ones you get when
selecting objects for a report
definition. The selection dialog also offers an expert mode in case the object you want to manipulate with the
slider is not present in the simplified tree. Usually the objects that you want to modify in the time course
simulation are one or several of the reaction parameters. This way you can interactively see how the behavior of
your model changes when you change a specific parameter. In combination with plots this is a very powerful way to
examine the behavior of your model.
After selecting an object, you can set the parameters for the slider. You specify the range the slider has to cover
in the Minimum Value and Maximum Value fields. Additionally you can specify if the slider shall have a logarithmic
or a linear scale. Per default sliders have a logarithmic scale.
At the bottom of the dialog there is a button labeled Advanced. If you click on this button more options that
influence the sliders behavior will show up (see above). Clicking the button a second time will hide these options
again. The advanced options contain mostly fields that let you modify how many steps the slider has (see explanation
below). The Object Value field determines the current value of the object that is associated with the slider. In the
Number of Minor Ticks field you specify how many minor ticks your slider will have. And in the Tick size factor
field you specify how many minor ticks make a major tick. Major ticks can be used to coarsely go through the range
of the slider whereas minor ticks allow you to step through the range in a more fine grained fashion. Instead of
specifying the number of minor ticks, you can specify the size of a minor tick. If you change either of those two
values, the other one will be adjusted accordingly. The formula is:
$\mbox{minor tick size}=\frac{\mbox{Maximum Value} - \mbox{Minimum Value}}{\mbox{number of minor ticks}}$.
 |
| Extended Slider Definition Dialog |
Once you have made all the settings, you confirm the slider definition with the OK button. A new slider will appear
in the slider dialog.
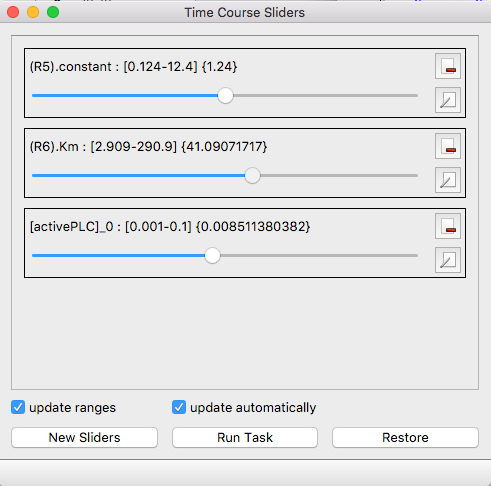 |
| Slider Dialog with 3 Sliders |
If the option update automatically is checked (default), then each modification of the slider will cause
the associated task to be run. In some cases (on long running tasks) it might make sense, to disable the checkbox,
modify all slider values and then trigger running the task manually by pressing the Run Task button.
If the option update ranges is checked, then when a sliders object value is changed to lie outside the
range defined, the range will be updated, so that the new value is at the boundary of the range.
Each slider shows the name of the object, the current value and the range in its label (see above). If the current
value of the slider is outside of the defined range, a corresponding warning will be shown. The slider dialog has a
check box called update automatically if this box is checked, COPASI will run the corresponding task each time you
release a slider handle after moving it. If you don't want COPASI to automatically run the task each time you change
a sliders value, you can uncheck this box and run the task manually by clicking on the run task button.
If the value of an object for which a slider has been defined changes when a task is run, the slider will
automatically show the new value. If the check box called update ranges is checked, the sliders will automatically
adjust their range if the value falls outside of the defined range. If the new value is larger than the old maximum
value, the new maximum will be set to twice the new value. Likewise if the new value falls below the old minimum
value, the new minimum will be set to half the current value.
Modifying a slider is essentially the same as defining a slider. The only difference being that you can not change
the object the slider is connected to. In order to do that, you have to delete the slider and define a new slider
for the new object.
Most people will probably use the sliders in combination with the mouse, dragging the sliders pointer to the desired
new value. Since this way of using a slider is rather coarse, especially if the slider contains a large number of
steps, you can also use the keyboard to change a sliders value. In order to do this, the slider you want to
manipulate needs to have the keyboard focus. To give the keyboard focus, you have to hit the TAB key several times
until the slider is surrounded by a small frame. Once the slider has this frame, you can increment and decrement the
sliders value via the cursor and the page up/down keys on the keyboard. The cursor keys are used to change the value
in small steps, the page up/down keys can be used to change the value in larger steps (see the explanation for major
and minor keys above).
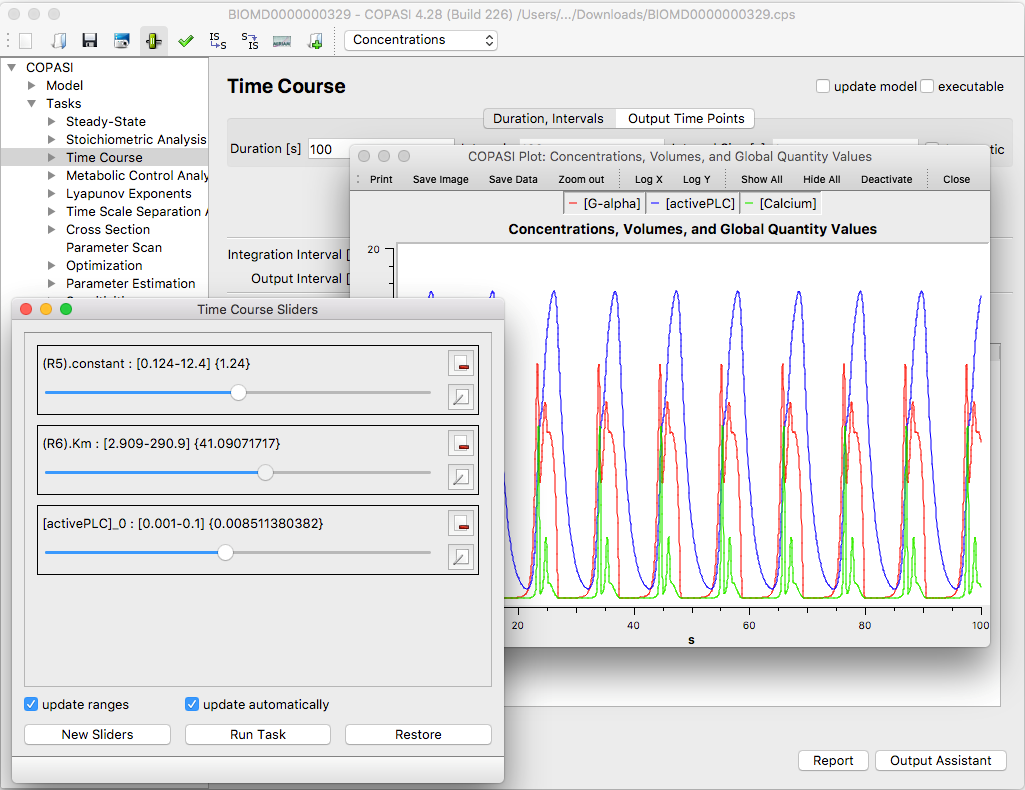 |
| COPASI with Plot Window and Sliders |